These tips are updated from time to time, so check back every so often to see what’s new! Last updated January 24, 2024.
NEW TIP: And, please check out the Sample Facial Exercises. There are many videos with different facial exercise routines "for free" on the CFF YouTube Channel. And, a new product of 14 new video clips showing advanced moves for the basic 28 foundational facial exercise. As well as the Video clips of facial exercise routines for sale .
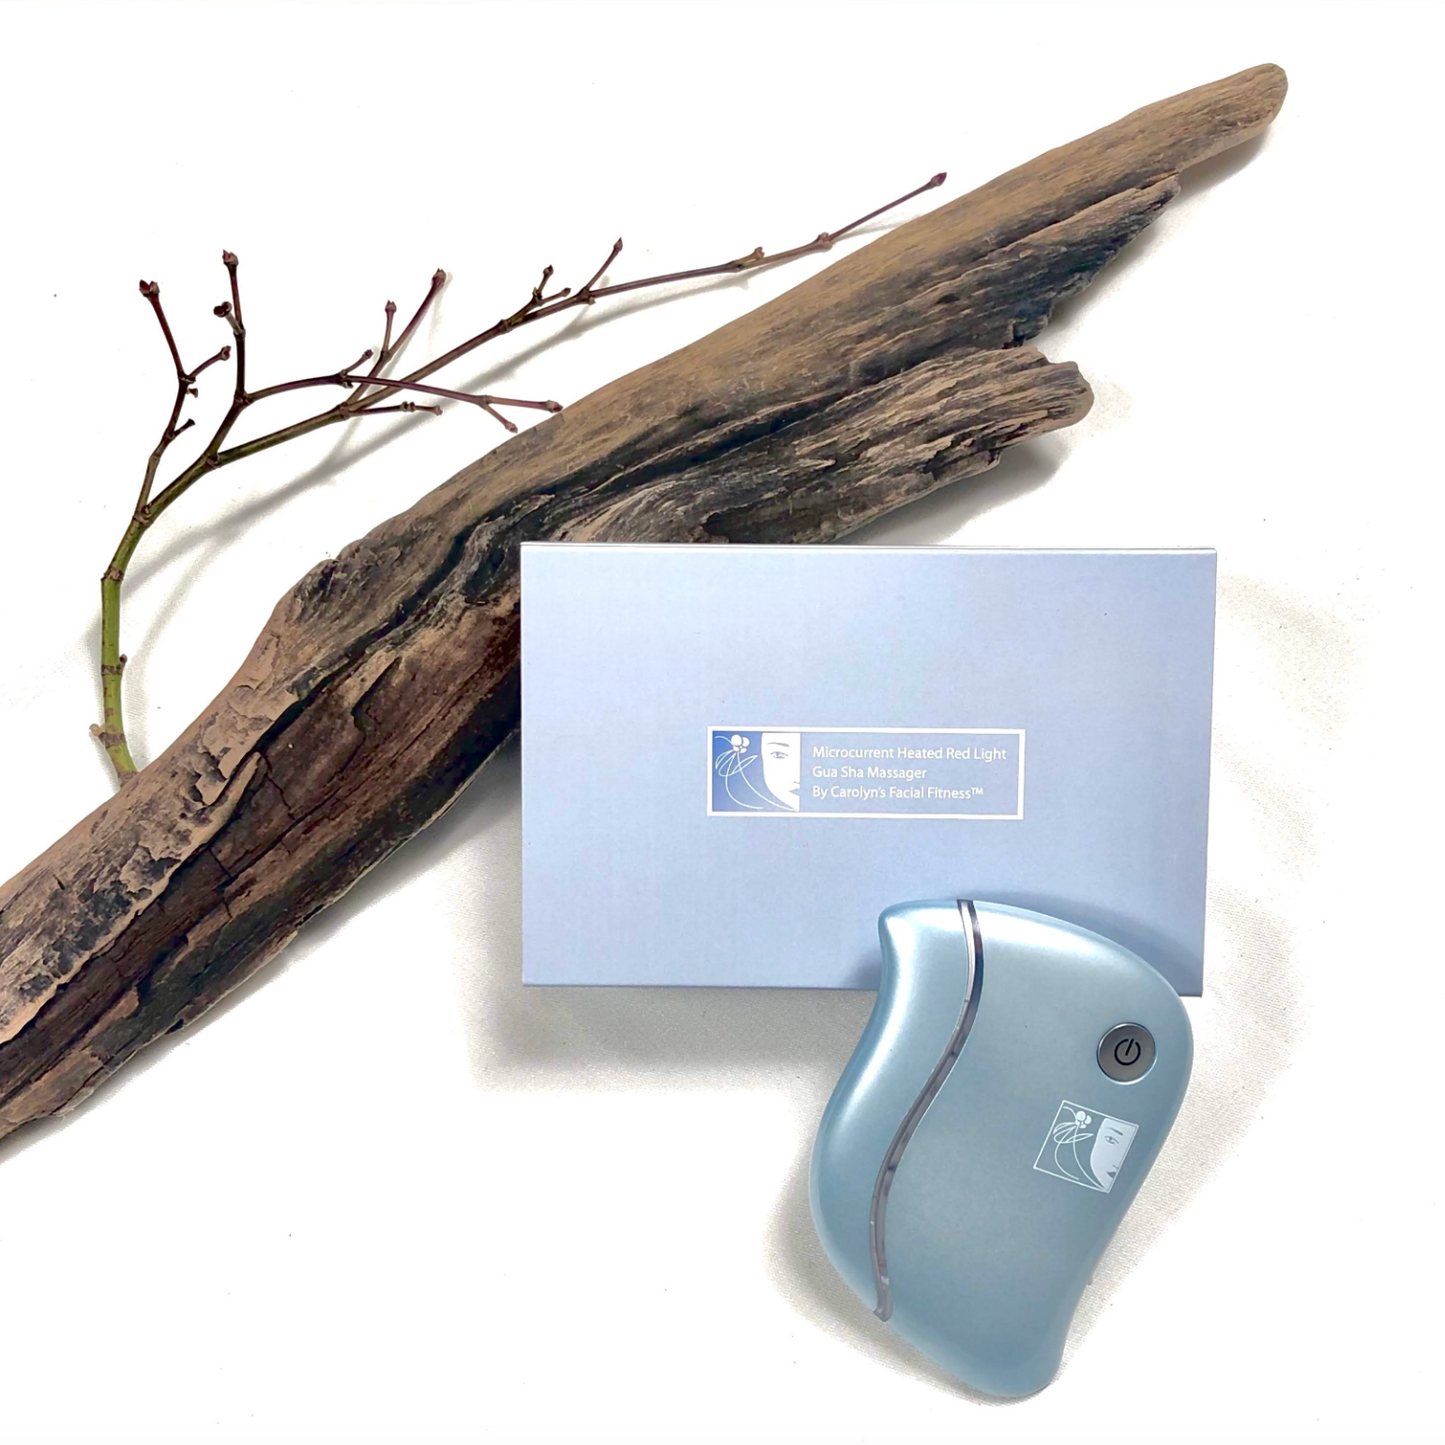
TIP: You can now use the Circle-up Rub 2 to 3 times a week to help smooth the skin and tone the muscles in the face overall. One day a week, use an exfoliation cream like our Cleansing Scrub while performing the Circle-up Rub routine. Apply a good moisturizer (Moisturizer Plus) or any good cream or serum you like directly afterwards.
TIP: Be sure to add the lip sliding movement to the end of the Advanced Circle-up Rub and you will not only smooth the jowl area, but help to diminish and eliminate lip lines!
Perform the Circle-up-rub every morning and evening in front of the bathroom mirror, 5 days a week. Minimum of 5 passes (maximum of 10 passes) each time. Be sure to moisturize. At the end of the 5 to 10 passes here is what I want you to do:
For your mouth wrinkles: This is performed in the video above!
- Close your mouth so your lips are touching. Wrap your bottom and top lips around your teeth (lips are still slightly touching)
- With your right hand open flat, place your fingertips on the left corner of your mouth and with the mouth contracted as described above (and well moisturized) pushing gently, yet firmly, slide the fingers across the lips, ending at the right corner of the mouth.
- Now, take your left hand and place it on the right corner of your mouth and swipe it over your lips so it ends at the left corner of the mouth.
- Those are the two movements to perform
- Now, swipe left and then swipe right over the contracted mouth muscles in a rapid motion so your hands are going left … right … left … right … over and over again quite rapidly as you slowly count to 40.
- You should see a reduction in your lip lines within 3 weeks and it gets better and better over time.
- Perform this once in the morning and once in the evening after you perform the Circle-up Rub. Five days a week.
- Check out the new Philtrum Shortening, Lip Shaping video clip for sale!
For smoothing the wrinkles of the chin and jowls:
- With your right hand open flat, place your fingertips on the right side of the face, just under the temples and close to the ear. Pull back slightly (you’ll see your jowl area lift).
- Wrap your bottom lip over your bottom teeth and smile gently with the corners of the mouth.
- Place your left fingertips in the area just under the left corner of the mouth and on the chin area, pointing towards the right ear. Pushing gently, yet firmly, slide the fingers across the chin and up the lower cheek, ending on the right side of the face, just below the temple and your right hand fingertips. Be sure the face is contracted. Be sure your right fingertips are slightly pulling back. Do moisturize, first, if you wish!
- Now, holding in place with your right hand, swipe your fingertips back to start so your left fingertips end-up under the left corner of your mouth. Be sure that you are holding the face in place with your right fingertips and your face is contracted. So, you’re sliding first up and then back.
- Perform 10 slides.
- With your left hand open flat, place your fingertips on the left side of the face, just under the temples and close to the ear. Pull back slightly (you’ll see your jowl area lift).
- Now, place your right fingertips in the area just under the right corner of the mouth and on the chin area, pointing towards the left ear. Pushing gently, yet firmly, slide the fingers across the chin and up the lower cheek, ending on the left side of the face, just below the temple and your left hand fingertips. Be sure the face is contracted. Be sure your right fingertips are slightly pulling back.
- Now, swipe back so you end up with your right fingertips under the right corner of your mouth.
- Perform 10 slides
- Those are the two movements to perform
- Execute from 1 to 4 rounds of 10 slides each on each side.
- This will not only smooth out your chin, it will also smooth the jowl area and help to fill in the lower face, relieving you of a gaunt look, as well!
- Check out the Advanced Bonus Tips for foundational 28 exercises for sale with a video showing this movement
TIP: This is from Erica. Thank you! “Hi, Carolyn: I wanted to mention something that’s helped me tremendously in learning the exercises. I have an iMac. While listening to your “Pacing” CD in iTunes, I also open “FaceTime” so that I can observe myself while performing the exercises (and correct mistakes I’m making). It’s really been VERY useful!”
Create a Habit
I know this may sound strange to say, but if you don’t do the exercises, you won’t get results. You must exercise to get results. If you try and “fit in” the exercises during the day, you’ll probably fail.
I recommend that you do them at the same time every day that you work out. This way, you’ll find it easier to “remember” to exercise and you will have made time available for the work out as well. Space-out the workouts as evenly as possible throughout the week. Check out how often you should exercise here.
Always Perform the Face Firmer with Every Workout
Do perform the Face Firmer or the Advanced Circle-up Rub massage techniques exercise with every workout. While it’s the combination of exercises from the foundational exercises that gives you the proper build and this elegant look, it’s the Face Firmer that makes sure everything stays balanced and even.
TIP: You can perform this technique either before or after the 28 foundational DVD workout. Always try to include the Face Firmer at the same time you workout to be assured you always include it!
TIP: When using the Face Firmer, remember to keep the circles pressed against the contracting muscles as you work, lifting the heels of each hand up and moving to the next spot. You do NOT slide across the skin, rather, you press down and massage. When you count, make rapid circles with the heels of your hands and count slowly (as in seconds) to ten in each spot.
TIP: You can add The Brush to the end of your workout if your jaw line, double chin or neck need extra attention.
Note: Remember to lie down (Part 2 of the DVD) for the first 26 exercises. #27 and #28 are performed sitting-up for best results.
Customizing your Workout: Once you’ve established a perfect facial foundation by performing the 28 DVD exercises lying down, along with the Face Firmer for the first 3 to 6 months, you may find you wish to target those areas of the face, neck or chest which may not be responding as much as you wish. At this point you add bonus exercises to help lift, smooth or tighten a particular part of your individual face. This way you can customize the CFF program to get exactly the results you want.
Receive a customized facial workout designed by Carolyn. This service is only $55-. You can order it on the Customizing Your Facial Workout webpage.
NEW: Now offering Zoom lessons with Carolyn. We’re now offering Zoom sessions for the seasoned facial exerciser to the “newbie” who wants that special attention that a one-on-one private lesson can give. Carolyn designs the routines and teaches them. There’s a little video explaining further how it all works.
Technique is Important:
According to Frederick Rossiter, M.D.*, if you first contract a muscle and then slide across or then massage the face, you can tone up the muscles and the skin at the same time. The muscles of the face are intertwined in the skin so we can show facial expression. Therefore, if we tone up the muscles, the skin comes along with the newly toned muscle eliminating and diminishing wrinkles at the same time. He calls these muscles in the face “skin muscles” just because the muscles in the face are so intimate with the skin.
He also says we must completely contract the orbital muscles of the face all at once in order to stimulate them so that they will not only build evenly and correctly but contractions of the muscles rejuvenate the connective tissue and builds muscle fiber, as well. Therefore, we completely contract both the eyes and the mouth muscles all at once in the CFFitness™ program as they are both orbital muscles.
TIP: Building slowly and consistently gives the best-looking build:
Body vs. facial muscles
The muscles only build when microscopic tears occur and heal. This is how you build muscle. The muscles in the face are finer than in the rest of the body, so they probably recover faster than the body. Fiber tears do not happen uniformly and this is okay in the body where the muscles are large and not a very big consequence can happen. However, in the face one must go slowly and gently or they can over-do and get a “lumpy” appearance.
Go fast by going slow
One needs to start off lightly and work very comprehensively to build the muscles of the face and tone it properly. Working out gently and daily is probably okay for the first couple of weeks while you’re in the learning phase. Once you’re lying down, going from five to three times to eventually, twice a week will allow you to build consistently. A gradual build of the baseline tone for the face is key. With facial exercises, you “go fast by going slow”. Meaning, that gradual building of the facial muscles is the key to good muscle tone and an elegant, firm and good-looking build of the face and neck.
Bone remodeling: Even though the bones of the face are known as “flat bones” and do not lose bone mass the same way the bones of the body can over time, it has recently been discovered by medical science that there is bone deterioration as we age around the “edges” of the orbital muscles (eyes and mouth) as well as along the jaw line and mid-face structure. With the CFF system you are putting pressure on these areas of the face through contraction of the muscles and sliding with your fingertips and hands. Consequently, it appears you are rejuvenating not only connective tissue to be more resilient and healthy and therefore producing collagen and elastin fibers to grow, but you are also preventing bone loss as well as building bone mass through facial exercise. When using the CFFitness facial exercise program, you will not have to suffer the sunken or deteriorating look that comes with older age.
Furthermore, rubbing across a wrinkle (perpendicular) as well as along the wrinkle (parallel) will also cause it to become shallower and wider, at first as the toned muscles push the deeper wrinkle to the surface. Eventually, with continued work, this wrinkle will become a very thin line or disappear completely. Because wrinkles are created by skin adhering to underlying tissue, rubbing across them will help to release them from being stuck down and you can then rub them out.
Skin Folding
When first attempting facial exercises, during the workout you may notice an excess or folding of the skin when sliding with resistance. This is normal and it will pass as your skin firms-up, smooths-out and tightens with exercising.
How Much Pressure to Apply
When first beginning facial exercises, you can apply a gentle pressure, exerting more and more pressure as you develop your workout over time. As time goes by, the skin is able to tolerate all the handling it gets from the exercise routines and it will become more resilient, firmer, smoother and younger looking after a while. You can read more about that in detail, here where I talk about how to achieve the build you want using the right touch.
Moisturizer
While it is fine to use a moisturizer in the beginning of exercising, remember that friction helps to challenge the muscles and creams reduce this friction. Moisturizing may help until the skin can handle the manipulation of the exercises.
Thank you Nonie for this TIP: For those of us who want less resistance and more of a toning experience when we exercise with CFF: “I usually do CFF after an oil cleansing of my face. So my face is somewhat slippery as if I’d applied a lotion. I know some people do better without anything on their skin, and others start off using moisturizer then move on to using nothing while working out. I don’t think there’s a right or wrong way. So even though I’ve been doing CFF since 2007, I still do it only after an OCM. … So the only time I will probably move to the bare skin method is if I find my current way not working. I suppose if my face was very oily, I’d not need the slip I get from the OCM.”
TIP: Sheila shares her experience with OCM – “I read about OCM … about a year ago and have been doing it ever since, with organic extra-virgin olive oil. Apart from CFF, that’s the best thing I ever did for my skin. I massage the oil in every morning while I do the Circle-Up Rub Technique. I use a microfibre cloth and hot-ish water to prep my skin and clean it after the OCM and then I splash my face with cold water and pat it dry. Very refreshing. Isn’t it intriguing that oil dissolves oil and can therefore be used on oily skin? I wish I’d known about that when I was a teenager with a permanently shiny face. With love”
The oil cleansing method (OCM) is a system for cleaning the face using oils. Using a mixture of 80% extra virgin olive oil and 20% castor oil, the oil is rubbed into the skin for approximately two minutes. Next, a warm, damp wash cloth is draped over face until it cools. A cooled wash cloth is then used to wipe off the excess oil with continued rubbing. One or two drops of olive oil or another oil of choice may be used to moisturize the skin after the cleansing oil has been removed from the face.
TIP: It’s important to note if you start facial exercises with a fairly “firm face”, you may want to be sure the touch you use and the amount of pressure you apply to the face when performing the exercises is lighter than firmer. We’ve noticed that those of us with firmer faces, under that age of 30 for example, do best to keep this light touch with the facial exercises so one can control the amount of build one achieves from the very beginning. Furthermore, using a moisturizer when doing the facial exercises may be more beneficial to these select few, as it will help to keep the resistance less rather than more which may be just right for this type. Also, be sure to check “How often should I perform the exercises – and what about moisturizer?” In the FAQ section of the website.
TIP: Thank you Nathan! “I have found an exercise that seems to work in lifting the NL lines – make an “O” with the lips while trying to draw all the muscles around the lips outward in the opposite direction. It utilizes the force/counter force concept, and the area under and around the NL lines plumps up nicely immediately afterwards. I don’t know yet if it’s just a temporary phenomenon, but I have included it into your 28 exercises. … That and a good diet, regular exercise and 7-8 hours sleep every night.”
Note: Always perform the exercises to the point of comfort. You may experience a little aching of the facial muscles in the beginning. This is usually “normal”. However, please feel free to consult your physician before beginning this exercise program.
NEW: Now offering Advanced bonus exercise movements for sale, for the basic 28 foundational exercises, below. They demonstrate advanced movements for 14 of the basic 28.
1. Crows Feet: Opens the eyes and diminishes crow’s feet:
- In the beginning, squeeze the eyes tightly closed and gently slide the thumbs from the corner of the eyes all the way to the hairline.
- Exert more and more pressure over time and squeeze a little bit harder as your skin learns to tolerate all the handling from the exercises.
- TIP: To erase lines at the outer corners of the eyes, under the outer corners of the brow, perform this exercise gently, but firmly in this area and moisturize first.
- You are exercising the entire orbital muscle around the eyes as well as literally rubbing out the crow’s feet away from the sides.
- TIP: Caution. This is not for everybody! Thank you LGT: “Here is my new discovery, for me, the biggest problem was that I have loose skin under the eyes … I knew that I couldn’t really do the rubbing technique here, but I went slowly and modified it for the under eye area. What I do is use a massage oil on my face (I use emu oil), then while squinting up with the lower eyelid, flexing this muscle, I use my ring finger to massage the under eye area using circle up rubs, of course I’m going much lighter than the rubbing out technique on the rest of the face, but this actually has started to work really well for tightening this under eye skin. I’m assuming that it’s the massaging that is helping to tighten up the skin? (YES!) Just like The Brush technique tightens up the skin on the neck….” Note: Some people cannot handle this massage, but she is obviously someone who is benefiting well from it.
2. Upper Eyelid Stretch: Firms, opens and exposes the upper eyelid and lifts the eyebrows
- Exert pressure evenly along the entire index finger when pressing up under the eyebrow.
- Be sure to stretch the upper eyelids down gently, but evenly throughout the count.
- To strengthen this exercise, push down with your eyebrows at the same time as when you’re pushing up with your index fingers and closing your eyes. Be careful not to overdo this exercise and create muscle bumps above the eyebrows with pushing down with the eyebrows too much. Gentle is the word to keep in mind, here.
- You will easily expose the upper eyelid with this exercise.
- If you wish to lift the eyebrow more in one area than another, say the outside of the brow, apply “extra” pressure on your index finger towards the outside of the eyebrow so when you lift and resist that pressure is more where you want the lift on your face to happen. You will slowly see that part of the eyebrow therefore lifting up more.
- People of Asian descent will benefit from this especially as falling eyelids can become a nuisance as they age.
3. Eye Opener: Strengthens and firms the upper eyelid giving a smoother, firmer look under the brow:
- The middle 3 fingertips from each hand should rest gently on CLOSED eyelids.
- You can actually feel the eyeball through the eyelid as it rolls upward towards the forehead.
- You create resistance with your fingertips by holding the lids in place while you roll your eyeball upwards.
- Wrinkling of the upper eyelid disappears over time with this exercise. It will also give an even and smooth look to the upper eyelid.
4. Eye Flex: Firms and strengthens the bottom eyelid, lifts the corners of the eyes and alleviates puffiness and dark circles
- This exercise usually requires a couple of weeks to gain control over contracting ONLY the bottom eyelid. In the beginning keep “trying” to flex this bottom eyelid and within 2 weeks you will no longer be squinting the whole eye, but rather noticing that you are only moving the lower eyelid.
- Little lymph nodes that reside in the under eye area will be activated and this exercise will help to flush away debris, reducing dark circles.
- The skin will firm-up with the toned muscles and consequently the under-eye skin will smooth out, hollows will fill-in and wrinkles will diminish.
- The fingers in the corners of the eyes work as little weights to especially strengthen the corners and help them to turn up, imparting a more youthful look.
- The lower eyelid will become firmer, ridding you of that “hollow-look”, giving the appearance of youth.
- Remember to hold the contraction of the lower eyelid as steadily as possible when you lift the head when lying down. This not only firms and gives strength to the bottom eyelid, it also helps to build the muscles in the neck properly.
- NEW TIP: Look up with your eyes towards your hairline when performing this exercise for a stronger result.
5. Lower eyelid Stretch: Firms bottom and upper eyelids while helping to alleviate puffiness, dark circles and papery skin
- In the beginning, start off by very gently pulling down the lower eyelid. You can exert more pressure over time.
- Be sure your fingertips are BELOW the thin skin of the lower eyelid and ON the bottom of the orbital bone.
- Try placing your fingertips more to the outer corners of the eyes along the orbital bone and below the lower eyelid for an effective way to lift the outer corners of the eyes up
- When gently closing the eyes, feel the tension in the bottom eyelid as opposed to squinting with the whole eye.
- The first time I saw this exercise was from Jehri Redding, a beauty expert from the 1950’s. He would do this on a slant board and swore that it not only diminished dark circles, but it firmed-up the bottom eyelid and smoothed out the skin miraculously.
- Remember, in the face the muscles go through the skin allowing us to show facial expressions, so when you tone-up the muscles, they become more dense and consequently not only eliminate papery skin in the lower eyelids (and the whole face), but fill in this area, too.
- While I didn’t find any benefit from the slant board, this exercise not only did everything he claimed, but it also filled out the bottom eyelid giving the appearance of youth. Now when I’m in strong sunlight instead of squinting the whole eye and causing deeper crow’s feet, I simply contract my bottom eyelid and end up firming the area under my eyes, instead.
6. Brow Line Lift: Lifts eyebrows and strengthens the eyes and forehead muscles
- Exert pressure evenly along the entire index finger when pressing down on the top of the eyebrow.
- Be sure to hold a steady pressure throughout the full count of 40.
- If you wish to lift the eyebrow more in one area than another, say the outside of the brow, apply “extra” pressure on your index finger towards the outside of the eyebrow so when you lift and resist that pressure is more where you want the lift on your face to happen. You will slowly see that part of the eyebrow therefore lifting up more.
- When lying down hold your head up for the entire exercise.
- Your eyebrows will lift with this exercise.
- This exercise also helps to further open up the eye.
7. Forehead Smoother: Lessens wrinkles, tones the forehead and lifts the eyebrows
- Be sure to slide all the way up to the hairline and down to the top of the eyebrows when performing this exercise.
- To reduce deeper lines, perform this exercise several times a day until your lines are lessened. Be careful not to overdo and create an abrasion.
- As an alternative exercise, while listening to the Pacing CD, travel with your fingertips, continuing to slide up and down across your forehead from one temple to the other and at the same time performing two sets of slides in the space of one slide. You will have therefore completed 20 slides rather than 10 in the allotted time given.
- Going across (perpendicular) to the wrinkles helps to diminish them, as well.
- Bonus exercise for the forehead – The Dancing Cs. A free video clip!
8. Brow Pull/Push: Smooths, flattens and relaxes vertical lines between the brows
- Be sure to do both the Pull and the Push of this exercise. The Procerus, is a little triangular muscle that resides between the brows and must be worked in both directions in order for it to eventually lie flat, giving a younger appearance to the face.
- With the Pull, be sure you start the thumbs at the front of the eyebrows and when you frown, be sure to push down and slide against this resistance ending with your thumbs in the center of the brow.
- With the Push, you do NOT slide. Be sure your thumbs are in the center of the brow and when you raise the eyebrows, push towards the center but do NOT slide across the skin. The thumbs stay in place.
- You can sometimes feel a little aching between the eyes when first performing this exercise. This is natural and part of the process. If you have real pain. Stop. Go only as far as comfortable.
- Over time you will see the vertical lines, aka. “elevens” diminish and this space between the brows lie flat.
9. Worry Line Smoother: Smooths and flattens deep vertical lines between the brows
- Be sure to rub the whole length of the wrinkle that may have developed. For example, slide all the way up to the hairline and down to the tip of the nose.
- Rub with as even a pressure you can exert from the bottom to the top of the slide.
- You can perform this exercise extra times during the day to help diminish deeper vertical lines. Be careful not to overdo and create an abrasion.
10. Scalp Pull: Lifts eyebrows, decreases forehead lines and opens the eyes
- Anchor your hand firmly at the hairline and on top of the head when pulling back and contracting the orbital eye muscles at the same time.
- Change hands from one round to the next to ensure a better grip.
- Try to keep the contraction and pulling pressure as even as possible.
- Slowly build up to a stronger pull and contraction over time.
- TIP: Place one hand at the hairline as described above and push gently, yet firmly against your forehead with the open palm of the other hand, keeping the forehead as still as possible while performing the Scalp Pull. This action helps to smooth the lines in the forehead over time.
- NEW TIP: Place one hand at the hairline as described above and push gently, yet firmly against the space between the brows, using the heel of your other hand. As you hold the hairline with one hand, rub the heel of your hand up to the hairline and down to the bridge of your nose with some vigor, up and down …. up and down. Use a firm pressure and watch your “elevens” fade.
11. Cheek Firmer: Diminishes the wrinkles around the mouth and firms, builds and lifts the cheeks
- When lying down, remember to lift the head up about one-inch off the floor or mattress with every flex.
- On the fortieth flex, hands are down by your sides and you flex the muscle and hold.
- Remember to always SMILE with the corners of your mouth while making the big “O” and hold that pose for a count to 40 for optimum results.
- Instead of using only your fingertips as weights, let the whole length of your index fingers lie across the upper cheek, just below the lower eyelids, imparting an even, good-looking build along this line of the face.
- When first engaging this exercise, you may not be able to execute the 40 contractions, lifting your head with each one. That’s okay. Build slowly, adding one or two more flexes with every workout until you reach the full forty.
- You may not be able to hold your head up for the full count to forty when first beginning this exercise. This is also normal. Just hold it up for as long as comfortable and try to add a little more time each time you work out until you can comfortably hold your head up for the full 40 count.
- New TIP: Advanced technique: When holding your head up for the full 40 count, smile making the Big “O” .. that is smiling with the corners of your mouth and your lips around your teeth for the full count of 20. Now, for the remainder of the 20 count, lips still around the teeth, try to touch the corners of your mouth together, making a Long “O” shape with your mouth. Hold this pose for the full remaining count of 20. The Long “O” will help to fill in your lower cheeks and the Big “O” will help to build the apples of the cheeks. Go here for a video clip of this technique, as displayed below:
12. Nose Shaper: Firms, gives shape and diminishes the crease below the nose while firming the jowls
- In the beginning you can open your mouth a little bit and pull down with your upper lip to eradicate that horizontal line that can form above the lip.
- Within 6 weeks, gradually start to close your mouth when pulling down with the upper lip. At this stage your muscles are developed enough to get the correct effect.
- With gently closed lips, you will engage your jowl area, firming these muscles.
- With your lips closed, (Index finger holding tip of nose up) place the pads of your thumbs from the other hand on either side of your jowls, respectively. Hold the jowls in place firmly with this finger placement as you engage this exercise.
- You will also continue to erase lines on the upper lip.
- Your nose will firm-up and look younger, smoother and more defined.
- Prevents the tip of the nose from turning down as it tends to do as we age.
- Tip: When wanting to revitalize the Philtrum, using the other free hand, place the tip of your Index finger above the lips in the area called the cupid’s bow. Press down with your Index finger in this spot every time you “pull” down with your lip.
- New: We’re now offering the Philtrum Shortening, Lip Shaping Routine for sale in our shop. Check out the blog for more information.
13. Bridge Smoother: Diminishes lines and drape at the bridge of the nose
- Slide all the way to the tip of your nose and up to just under the hairline.
- Remember to frown going up and raise-up (the brows) going down as you slide.
- This exercise can be performed extra numbers of times throughout the day to diminish lines between the brows and help make this area flat and youthful looking. Be careful not to overdo and create an abrasion.
14. Nose Slide: Fills out the sides of the nose giving it more definition
- Fingers slide BELOW the thin skin of the eyes, along the orbital bone and then slide out to the temples. The area under the eyes will be in contraction as you slide across this area as you make a Big “O” shape as you perform this exercise.
- Exert even pressure throughout the entire exercise.
- Building up the sides of the nose imparts a younger look to the face as this area gets sunken with age.
- NEW TIP: Thank you, from Barbara, a long time CFF client. She had deep grooves in her face she wanted to address and this is what she did:
- “First I do the ‘nose slide’ with extra pressure along the cheeks.
- Next, doing one cheek at a time, I firm my cheek just as I do for the nose slide; I hold the lower part of one cheek in place with the hand on the side of that cheek.
- I place a finger of the opposite hand perpendicular to the crease.
- Using extra pressure, I roll the finger upward, across the crease toward the eye.
- I do it 10 times on each side.
- I always use coconut oil on my face when I exercise it and my fingers glide along without friction.”
15. The Kiss: Firms the area around the mouth lifting out pouches and lines at the corners
- Maintain tightly held corners of the mouth in the first half of this exercise to create the maximum resistance when sliding.
- Tip: Slide with your thumbs across the cheeks almost to the ear if you wish to also diminish lines on the cheeks.
- Hold the kissing motion until you finish the slide all the way out.
16. Lip Pull: Firms and smooths lines on the upper lip and builds cheeks
- The stronger the smile with the corners of your mouth, the more resistance you can gain.
- Do not pull forward with the lip as much as sliding down the lip in order to increase optimal traction for eradicating lip lines.
- Keep your thumbs in place.
- Upper lip becomes smoother and firmer looking with this exercise.
- Strong smiling with the corners of the mouth help to lift and erase mouth pouches.
- New Tip: To erase lines around the lower lip, place each Index finger from each hand inside the mouth of the lower lip so the tips of each Index finger are facing each other. Your thumbs are on the outside of the lower lip, tips of the thumbs facing each other. You are literally grabbing your lower lip. Smiling with the corners of your mouth, slide your thumbs up over your lower lip, keeping your Index fingers in place. Move over a bit with your thumbs towards each ear, respectively, sliding your thumbs up over the lip as you move along the lower lip. Start at the center and end at the corners of the mouth of the lower lip. Remember to smile with each slide. About 4 to 6 slides from center to the corners.
- You can engage this exercise more often to help erase lip lines faster.
17. The Pout: Strengthens and lifts jowls while firming the mouth
- When lying down, lift your head with each pout and hold the head up for the full count.
- Hold your full pout for the entire exercise to create the best resistance.
- This exercise strengthens the jowl muscles hence the jowl area becomes tighter, smoother and firmer.
18. Sad Face: Strengthens and smooths the lines at the jowls
- Thumbs start at the bottom of the jowls at the jaw line.
- Thumbs end just above the corners of the mouth.
- If you extend the slide so that it goes across the nasal/labial fold lines and ends just along the outside of the nostrils, you can help to diminish those laugh lines at the same time.
- Hold the “sad face” contraction throughout the entire exercise for maximum resistance.
- If you perform this exercise a few extra times a workout you can erase lines and wrinkles at the jowls.
19. Pencil Crush: Strengthens and smooths the area around the mouth
- Keeping your eyes on the tip of your finger as you pull ensures your keeping continuous pressure around the lips for maximum benefit.
- Exercising the orbital muscle around the lips strengthens many other muscles in the face at the same time since most of the muscles of the lower face insert in and around the mouth.
- My father was a professional musician, playing horns and he used to perform this exercise to keep his mouth strengthened. The area around his lips was virtually wrinkle-free until a very old age.
- Even though at first it appears you are “making wrinkles”, you will see the lines around the mouth diminishing with this exercise as you strengthen the entire area and literally push out the wrinkles as the muscles tone.
20. Face Energizer: Lifts the cheeks, strengthens the sides of the nose and jaw line, diminishes wrinkles on the cheeks and around the lips
- Be sure to wrinkle your nose when performing this exercise as this will help to reduce cheek wrinkles.
- Slide all the way up to the temples.
- Greatly reduces tension in the lower face.
- Lifts the cheeks up.
- Check out our Face Polishing video for sale in the shop, as well!
21. Chin Firmer: Firms the chin, smooths lower lip wrinkles and alleviates dimpling on the chin
- It can take up to 2 weeks to gain control over the bottom lip to be able to lower ONLY the middle of the bottom lip. Take your time in learning this part of the exercise.
- TIP: Slide your fingers from over the bottom lip all the way down to the bottom of the chin and down the throat for maximum benefit.
22. Double Chin Tuck: Firms the double chin and gives flexibility to the tongue
- With every set, lift your head as far as comfortable – to the limit – when extending your tongue to ensure exercising the double chin area optimally.
- Stick your tongue out as far as possible to keep the tongue muscle flexible and healthy.
- Here’s a great tip from Gretchen: “I did make up my own exercise for that jawline problem I was asking you about earlier this year. It is just like the Double Chin Tuck, but I do it with my head turned slightly to the side, and stick my tongue out toward that side. I do 100 on one side, then stretch and massage it a little, then do 100 on the other side. In about 12 weeks it totally brought up that little muscle and corrected the problem.” The little muscle Gretchen refers to is the depressor, anguli oris. Sometimes referred to as “chipmunk pouches”.
- As we age, the tongue tends to get sluggish. This exercise will give you back your “young tongue”.
23. Tongue Press: Firms the double chin area
- The harder you press your tongue against the roof of the mouth as you slide, the more you will build the muscle under the chin – the double chin area.
- Be sure to slide the thumbs from as far back and as far forward as the thumb slide allows.
- If you think you’ve overbuilt this muscle, simply press less hard with your tongue as you slide; be sure to slide over this area, however as it will keep the double chin area smooth and firm as you age.
- TIP: Add The Brush to the end of your workout if you want to firm-up this area in a more expedient way.
24. Jowl Firmer: Firms, tightens and builds the jowls and the cheeks
- When first starting with facial exercises, you may notice that your skin tends to fold especially with this exercise. This is normal. Over time the skin will firm-up to the place where the folding stops.
- Be sure you’re pulling back with the corner of your mouth when attempting the slide with your fingers towards the corner of the mouth, as this creates resistance.
- Slide in the rhythm of the exercise as best you can.
25. Neck Strengthener: Strengthens the neck muscles and lessens rings and papery skin on the neck
- Lying down, when first engaging this exercise, you may not be able to execute the 40 turns, holding your head up the whole time. That’s okay. Build slowly, adding one or two more turns with every workout until you reach the full forty.
- Be sure to look with your eyes far left and far right. This does two things.
- One, it will prevent you from turning the head too far.
- Secondly as we age, the eyes become less lucid. This “looking” far left and far right, will give the eyes more flexibility and it’s good for their health, as well. In other words, you’re also exercising your eyes with this exercise, as well.
- TIP: When turning the head far left, pull the left corner of your mouth towards your left ear – release as you turn to the right. And when turning right, pull the right corner of your mouth towards your right ear. These new movements will help to alleviate puckering in the corners of the mouth.
- Remember, you must build the muscles in front of the neck in order to lift the jowl area and to be sure to rid yourself of those “hooded eyelids”. The muscles in the face are intertwined with the skin and connective tissue (allowing us to show facial expressions) and sometimes even connect only to other muscles.
26. Grand Gesture: Firms the corners of the mouth, fills out the cheeks and releases stress
- Hold the corners of your mouth as tightly as possible throughout the entire exercise.
- Think about the stress in the face lifting away with the lifting up and out of the hands.
- Even though you will be lying down, be sure to tilt your head back a bit while performing this exercise. This will increase its effectiveness.
27. Jowl Lifter: Lifts and firms jowls and diminishes wrinkles
- You must sit up for this exercise to work optimally.
- Be sure your fingertips start at the bottom of the jowl on the jaw line and slide up past the corners of the mouth.
- TIP: Slide your fingers all the way up the nasal/labial fold lines ending just under the nostrils as this helps to smooth and erase those pesky lines even more.
- Turn your head the same direction as the side of the face that you are sliding.
- Remember to contract the cheek muscle by smiling with the corners of your mouth as well as winking your eye at the same time. This will give the jowl area an extra lift.
- TIP: With the “opposite” hand from the one you use for sliding, hold down the collar bone as you turn your head for added resistance.
- You can perform this exercise extra times during the day for even more of a lift in the jowl area. Be careful not to overdo it!
- Go here to see the Advanced Jowl Firmer with 2- part Jowl Press.
28. Neck Firmer: Tightens and firms the double chin while diminishing wrinkles and rings
- You must sit up for this exercise to work optimally.
- Be aware not to over-stretch the chin reaching for the ceiling and create a problem with the jaw joint.
- Slide with an open hand from just under the tip of the chin all the way down to the collarbone and hold the hand firmly in place for the entire count.
- You can add extra rounds a day to help smooth your neck and diminish neck rings.
- Go here to see a new version of the Gulping Fish, related to this exercise.
*Frederick M. Rossiter, M.D.: A professor of anatomy and physiology and author of the book Face Culture, Pageant Press, (Copyright 1956) (Out of Print)